Ultimate Tips for Using Pigment Powder for Resin Projects?
Pigment Powder for Resin is a versatile material that can transform your projects. Its vibrant colors and unique textures can create stunning effects. However, using it effectively requires some knowledge and practice.
Working with pigment powder can be tricky. Finding the right balance between powder and resin is crucial. Too much pigment can cause opacity, while too little may not give the desired color depth. You might face challenges when mixing. Sometimes, the colors may not appear as expected. This highlights the importance of experimentation and patience in your process.
Incorporating Pigment Powder for Resin into your artistic projects can elevate your creations. Keep in mind that mastering this technique takes time. Documenting your experiences can help refine your approach. Embrace the learning journey, as each project teaches valuable lessons in color application and mixing techniques.
Understanding Pigment Powder: Types and Properties
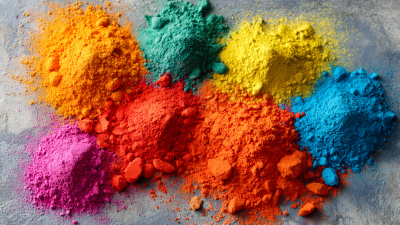
Pigment powder is a versatile medium commonly used in resin projects. Understanding its types and properties can elevate your craftsmanship. Different pigment powders come in various forms, such as matte, metallic, and iridescent. Each type behaves differently in resin, leading to unique effects and finishes.
When working with pigment powders, it's essential to consider their solubility and opacity. Some powders are more transparent, while others provide rich color saturation. This influences the final look of your project. Experimentation is crucial. Mixing different powders can yield unexpected results. However, these experiments may not always produce the desired effect. Artists often face challenges in achieving consistent coloration.
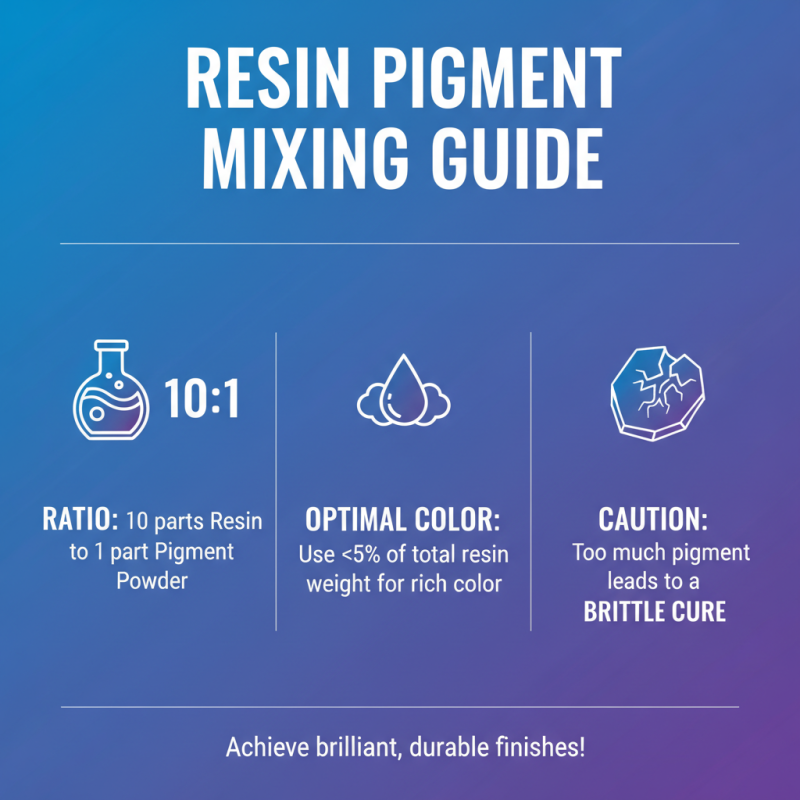
Additionally, the ratio between pigment powder and resin matters. Too much powder can cloud the resin, while too little may result in a lackluster finish. Finding the right balance requires practice. Sometimes, projects might not turn out as expected. Reflecting on these experiences can lead to better techniques in future endeavors. By paying attention to these factors, you'll harness the true potential of pigment powders in your resin work.
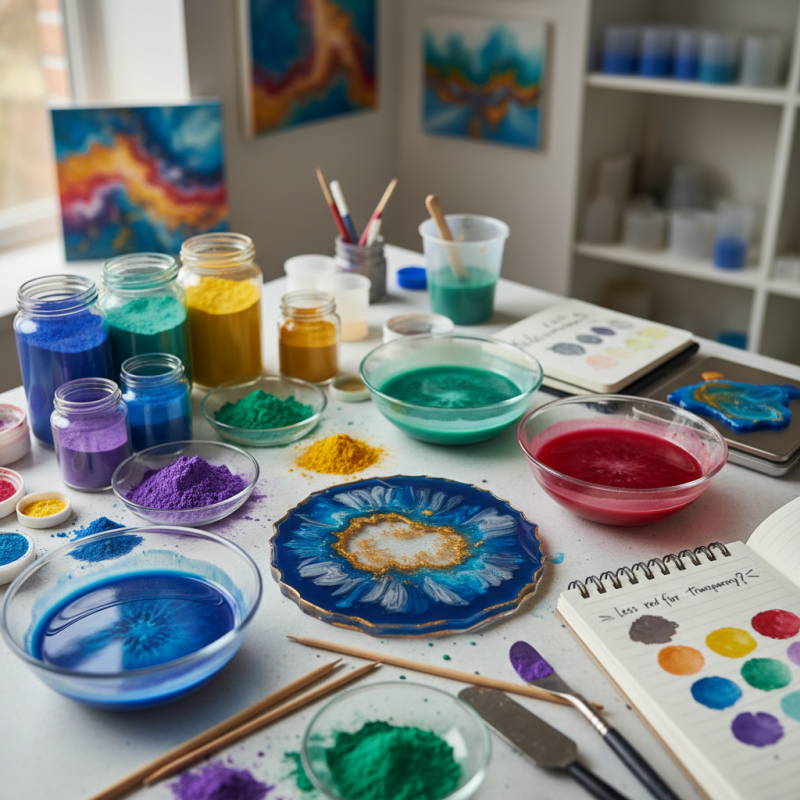
Preparing Your Workspace for Resin and Pigment Powder
Creating a well-prepared workspace for resin and pigment powder projects is critical for success. Start by ensuring good ventilation. Many artists overlook this basic step. Proper airflow minimizes fumes and supports a safe environment. According to industry studies, over 50% of resin users report respiratory irritation from inadequate ventilation.
Next, protect your surfaces and wear appropriate gear. Use a dedicated table covered with a disposable plastic sheet. This measure saves you from extensive cleanup later. It can be frustrating to see your work area dirty. A high-quality mask and gloves provide safety from pigment dust and resin spills. Remember that even small particles can cause allergic reactions.
Finally, keep all tools organized. A clutter-free space enhances focus and prevents accidents. Arrange pigment powders in labeled containers. Effective organization can improve efficiency by up to 30%, according to professionals in the field. Take time to reflect on your workspace setup regularly. Small adjustments can lead to significant improvements, enhancing your overall resin art experience.
Tips for Achieving Desired Colors and Effects
Using pigment powder for resin projects can yield stunning results, but achieving the desired colors and effects requires knowledge and practice. According to a report by the Art Materials Industry Association, color selection can significantly affect the final look of resin art. Approximately 70% of artists choose pigments based on their opacity and vibrancy, demonstrating the importance of these qualities in creating eye-catching pieces.
When mixing pigment powder, it's crucial to start small. Add a tiny amount of powder to your resin mix. You can always increase the amount, but it's harder to tone down a color once it’s set. Test your mixture on a small surface to see how it interacts with light and other materials. Remember, colors can look different when dry compared to when they are wet. This often leads to unexpected outcomes.
Consider the environment where the resin will cure. Humidity and temperature can affect color saturation. According to resin experts, higher humidity can lighten pigments. This means you might have to adjust your ratio to achieve your desired hue. Mixing different colors can also produce unique effects, but this is where experimentation becomes crucial. Be prepared for the unexpected as you explore the relationships between pigments and resin.
Ultimate Tips for Using Pigment Powder for Resin Projects
| Tip |
Description |
Effect |
| Use a Color Wheel |
Select complementary colors for better contrast. |
Enhances visual appeal of resin artwork. |
| Start with a Small Amount |
Add pigment powder gradually to avoid overpowering color. |
Allows for fine-tuning of shades. |
| Mix Thoroughly |
Ensure even distribution of pigment for uniform color. |
Prevents streaks and uneven coloration. |
| Experiment with Layering |
Apply different colors in layers for depth and interest. |
Creates a multi-dimensional look. |
| Consider Transparency |
Use transparent pigments for bright effects. |
Enhances light reflection and depth. |
| Test on Small Samples |
Before full project, test colors on a small piece. |
Ensures desired outcome and satisfaction. |
| Store Properly |
Keep pigment powders in airtight containers. |
Preserves color quality and longevity. |
Finishing Touches: Curing and Displaying Your Resin Projects
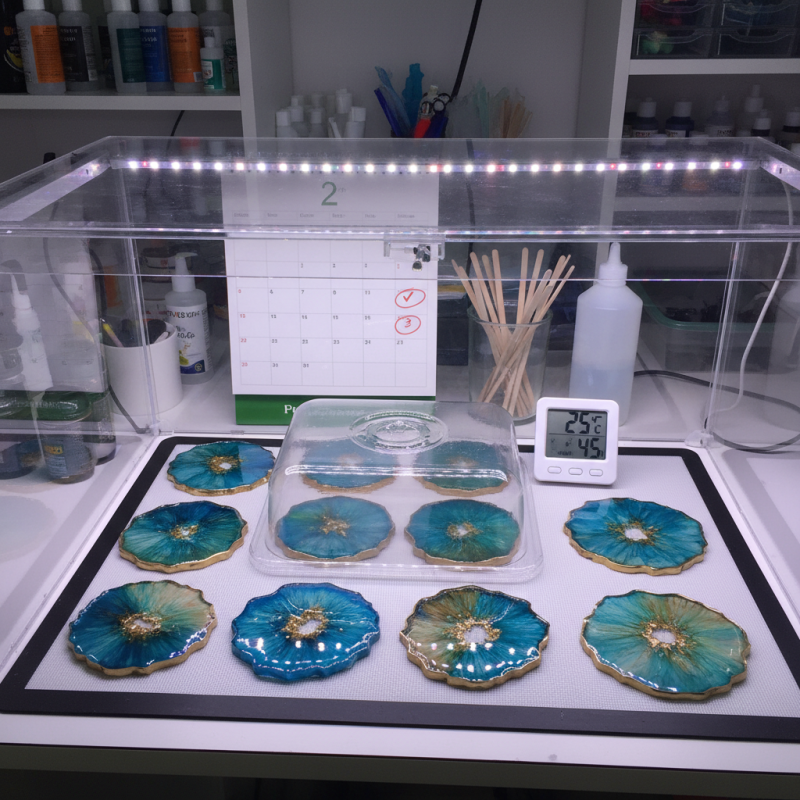
Curing your resin projects requires careful attention. Once you pour your mixture, be patient. It's important to allow the resin to cure properly, which may take 24 to 72 hours, depending on the type you use. Temperature and humidity can affect curing times. Check these conditions often. Too cold or wet can lead to improper curing. You might notice sticky spots or cloudy resin; these issues are frustrating.
Once cured, you can display your creations. Look for a clean, dry area with good lighting. Consider using stands or shelves that complement your work. The right backdrop enhances the colors of your resin. If your project contains pigment powder, showcase it where light can reflect off the surface. This interaction creates stunning effects.
Sometimes mistakes happen during the curing process. You may find bubbles trapped in your resin or uneven surfaces. These imperfections can be a learning opportunity. Reflect on what went wrong, and adjust your technique next time. Each project teaches you something new. Embrace the journey of growth and creativity in your resin art.